Airtable
Airtable is a spreadsheet-database hybrid. Note that because val.town uses Deno, we use an unofficial library.
Setup
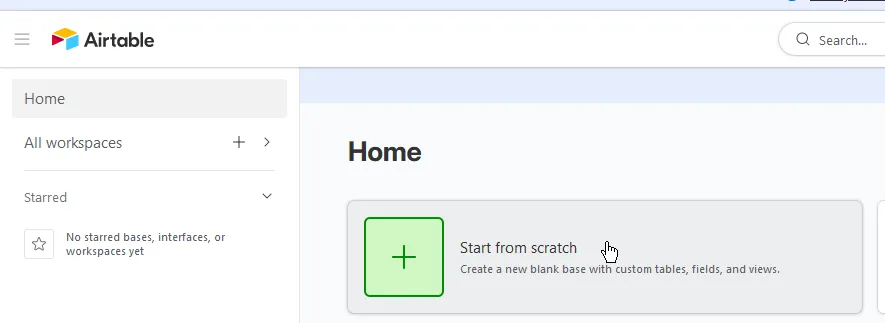
On the homepage, click Start from scratch to create a base:
If prompted with automatic setup, click Skip. You should get a new base with a blank table.
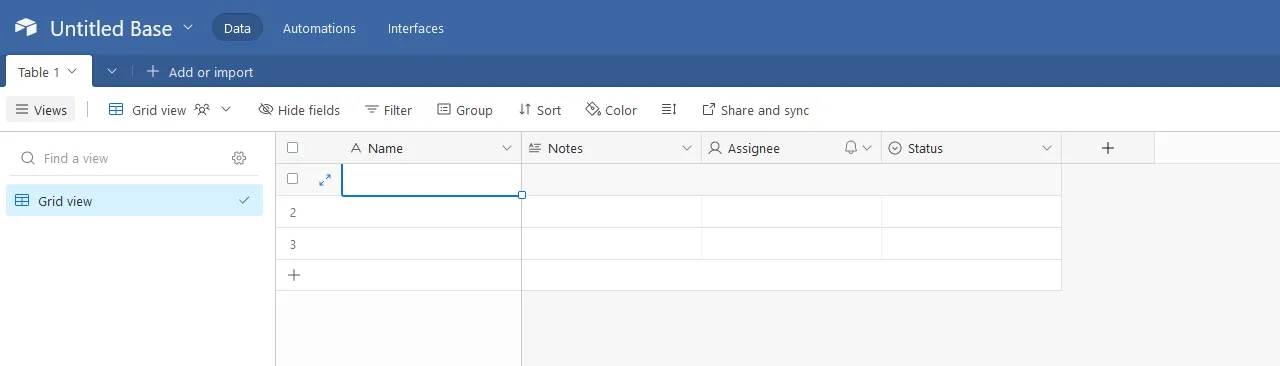
Adjust the table fields as you want (note that this isn’t covered by this guide).
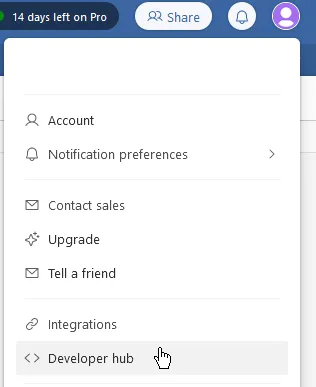
Click on your profile icon, then on Developer hub:
Click Create new token.

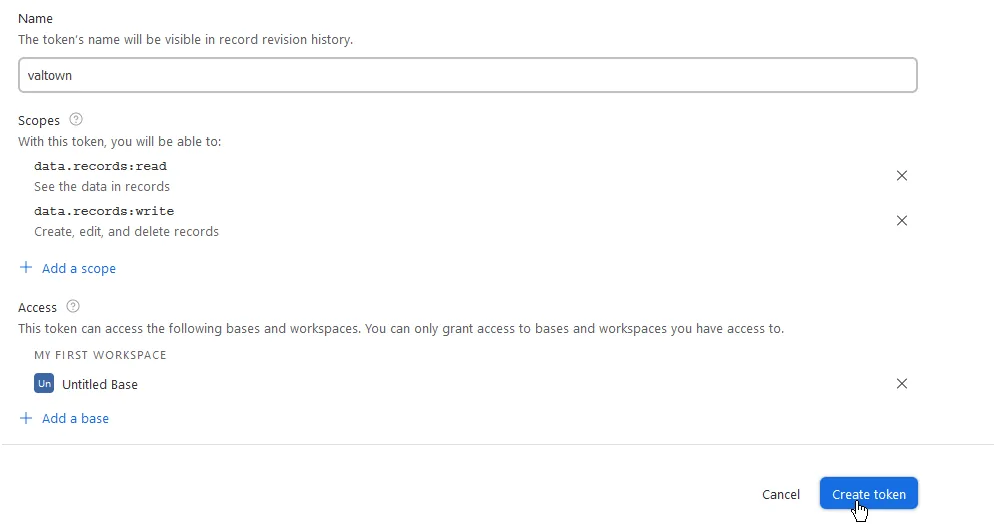
Fill out the fields:
- Name: Any. For example,
valtown. - Scopes: You’ll most likely want to add
data.records:readanddata.records:write. - Access: Add the base you created earlier.
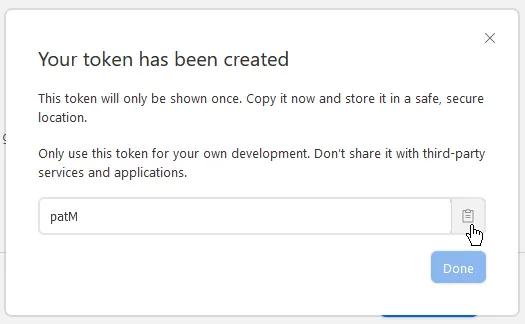
Lastly, click Create token. Here’s an example of how your settings could probably look like:
Copy your token and click Done.
Go to val.town, click on your username and then on Env Variables:
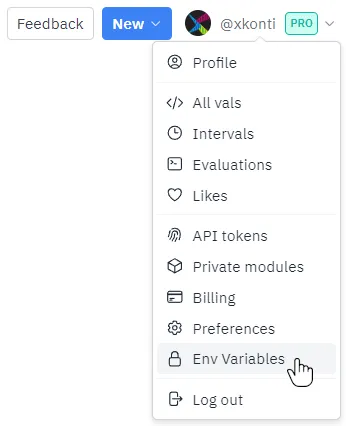
Click New env variable. Set the key to a name you want to use to reference the token
(for example, airtable_pat) and paste the copied personal access token into
the value, then click Add.

You can then use Airtable from val.town like so:
import process from "node:process";
export const airtable_deno_sample = (async () => { const { Airtable } = await import( "https://deno.land/x/airtable@v1.1.1/mod.ts" ); const airtable = new Airtable({ apiKey: process.env.airtable_pat, baseId: "appXSrKDlwbAijRmD", tableName: "All content", }); // Sample data from: https://blog.airtable.com/database-vs-spreadsheet/ const results = await airtable.select(); return results;})();Make sure to change:
- apiKey if you have used a different name for your environment variable.
- baseId to the ID of your base. You can find it in the URL bar while a table is
open and it will likely start with
app:
![]()
- tableName to either the name of your table or the table ID which can also be found in the URL after the base ID (see above).